New Poster
There’s a show in California I participate in every year for the past 4-5 years where they out a small pine box to 150 artists and you do whatever you want with the box and send it back to the gallery.
One year I did a 1:1 slace section of the vietnam memorial wall with my uncle’s name on it. Another year I did a giant creepy jack in the box.. and the list goes on.
Anyhow this year I decided to use the boxes differently.
Being WOEFULLY understocked with wood type I decided to cut the entire poster by hand on unmounted linoleum.
I then took the pieces of the box and used those to mount the linoleum onto for printing.
Since I wasn’t using any type, all the pieces were ‘technically’ type high. :)
Using some red Van Son rubber based ink I pulled the print on a piece of luan plywood (and pretty much anything else I had around since I had it set up).
I then used the left over wood to build a frame to mount the luan piece and I plan to also glue, screw and mount the linoleum blocks and the wood relief box illustration into a frame for the show as well.
Two pieces for the price of one.
Yay letterpress!
…and now the pictures.
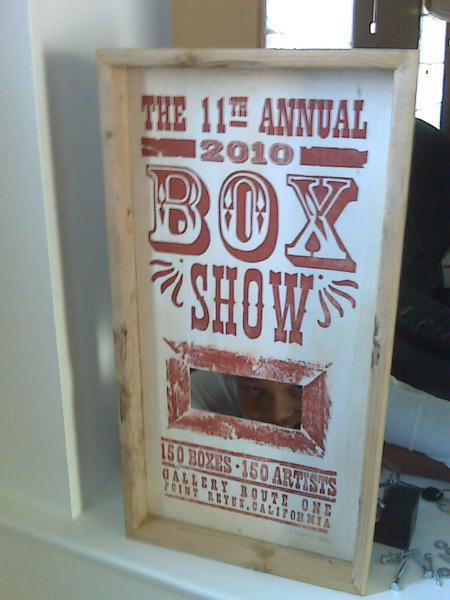
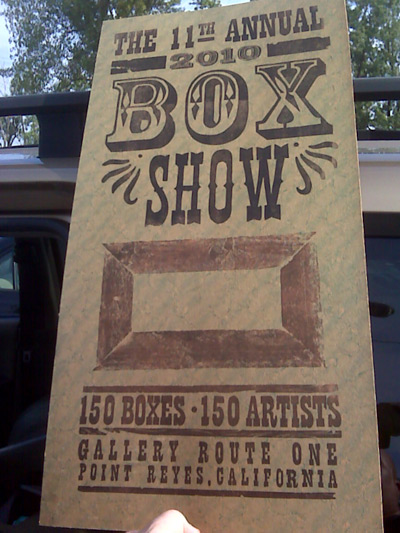
finished piece printed on 1/4 inch plywood in custom frame of rough pine.
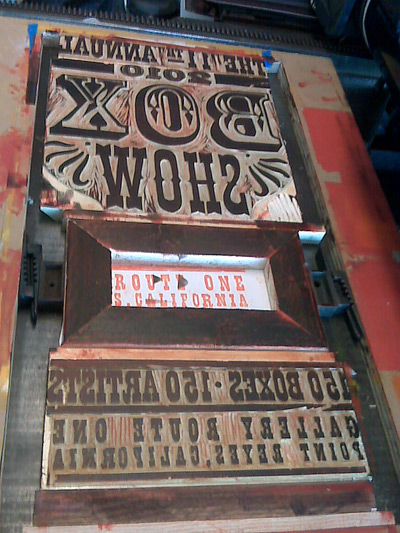
linoleum cuts and mitered rough pine box 'illustration' locked up in my homemade chase.
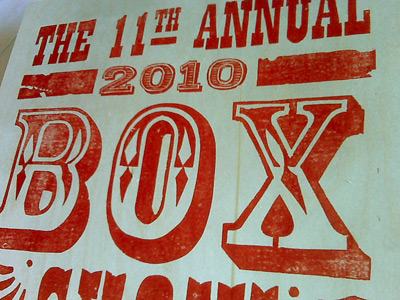
close up of print pulled on 1/8 inch pine veneer
close up of print pulled on 1/8 inch pine veneer
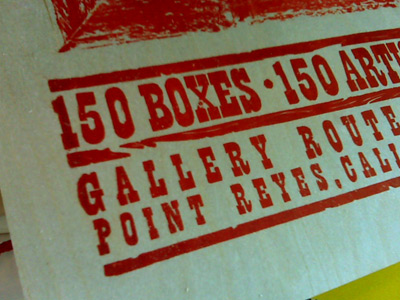
not sure what kind of stock this is but i found it in a print shop basement smelling like dust and yellowed with age so I grabbed it all! the other side is just chipboard color and the print looks cool on either side.
..and if someone would like to save me from myself on my next project by offering me some reasonably priced wood type, that would be outstanding. :)
I love it!
It is a gorgeous piece. Do you have pictures of how you made the linoleum cut? Do you transfer the artwork to the linoleum first, or is it all freehand?
Maria
I design the layout in Illustrator using some woodtype style fonts I have.
From there I print it 1:1 on 11x17 paper on the laser jet printer, right reading. (how I want it to print)
I put the print face down on the linoleum and using some citrus based solvent I lightly dampen the paper.
You have to use only a small amount. The solvent softens the toner and allows it to transfer to the linoleum. Sometimes you have to burnish the print, depends on the toner.
If you use too much solvent you will get a runny mess on your linoleum so only damped the paper.
Here’s a step by step on solvent transfer.
http://www.diylife.com/2007/09/04/leave-your-mark-with-solvent-transfers...
(If you don’t want to use solvent you can use some good old graphite transfer paper and trace your image.. zzzzz)
Anyhow, once that’s done it’s usually dry very quickly so I get right to carving.
Starting anywhere I get the urge I’ll use an xacto knife and sometimes a metal ruler for the straightest lines (on this piece it was all freehand).
I cut about 1/2-3/4 into the lino straight down along the line I want to carve.
I then come in at an angle with the curved gouge to clear away the shoulder of the relief.
The process goes pretty quickly because you aren’t having to be so careful with the curved gouge.
So get the center areas I’ll cut in all the sides and usually just pick out the linolum with a dental pick. The lino is kind of brittle but with it scored where you need the line it just pops right out.
For the 2010 font with the shading I cut the edges as noted above but used a very small V gouge to do the line work and outline. I surprised myself with the results of those letters
.
The whole 10.5x18 carving took me about 3-4 hours.
Red areas are xacto cuts. curve is the curved gouge.
Sometimes, to transfer the image, you can use a combination of oderless mineral spirits and heat (for something that large, maybe an iron). Might depend on the brand of printer or copier.
Preston
this type of work is no fun without fumes. haha.
thanks for the iron tip though i’ll have to try that. would help soften the linoleum too.
k.