Roller Slur on Platen press
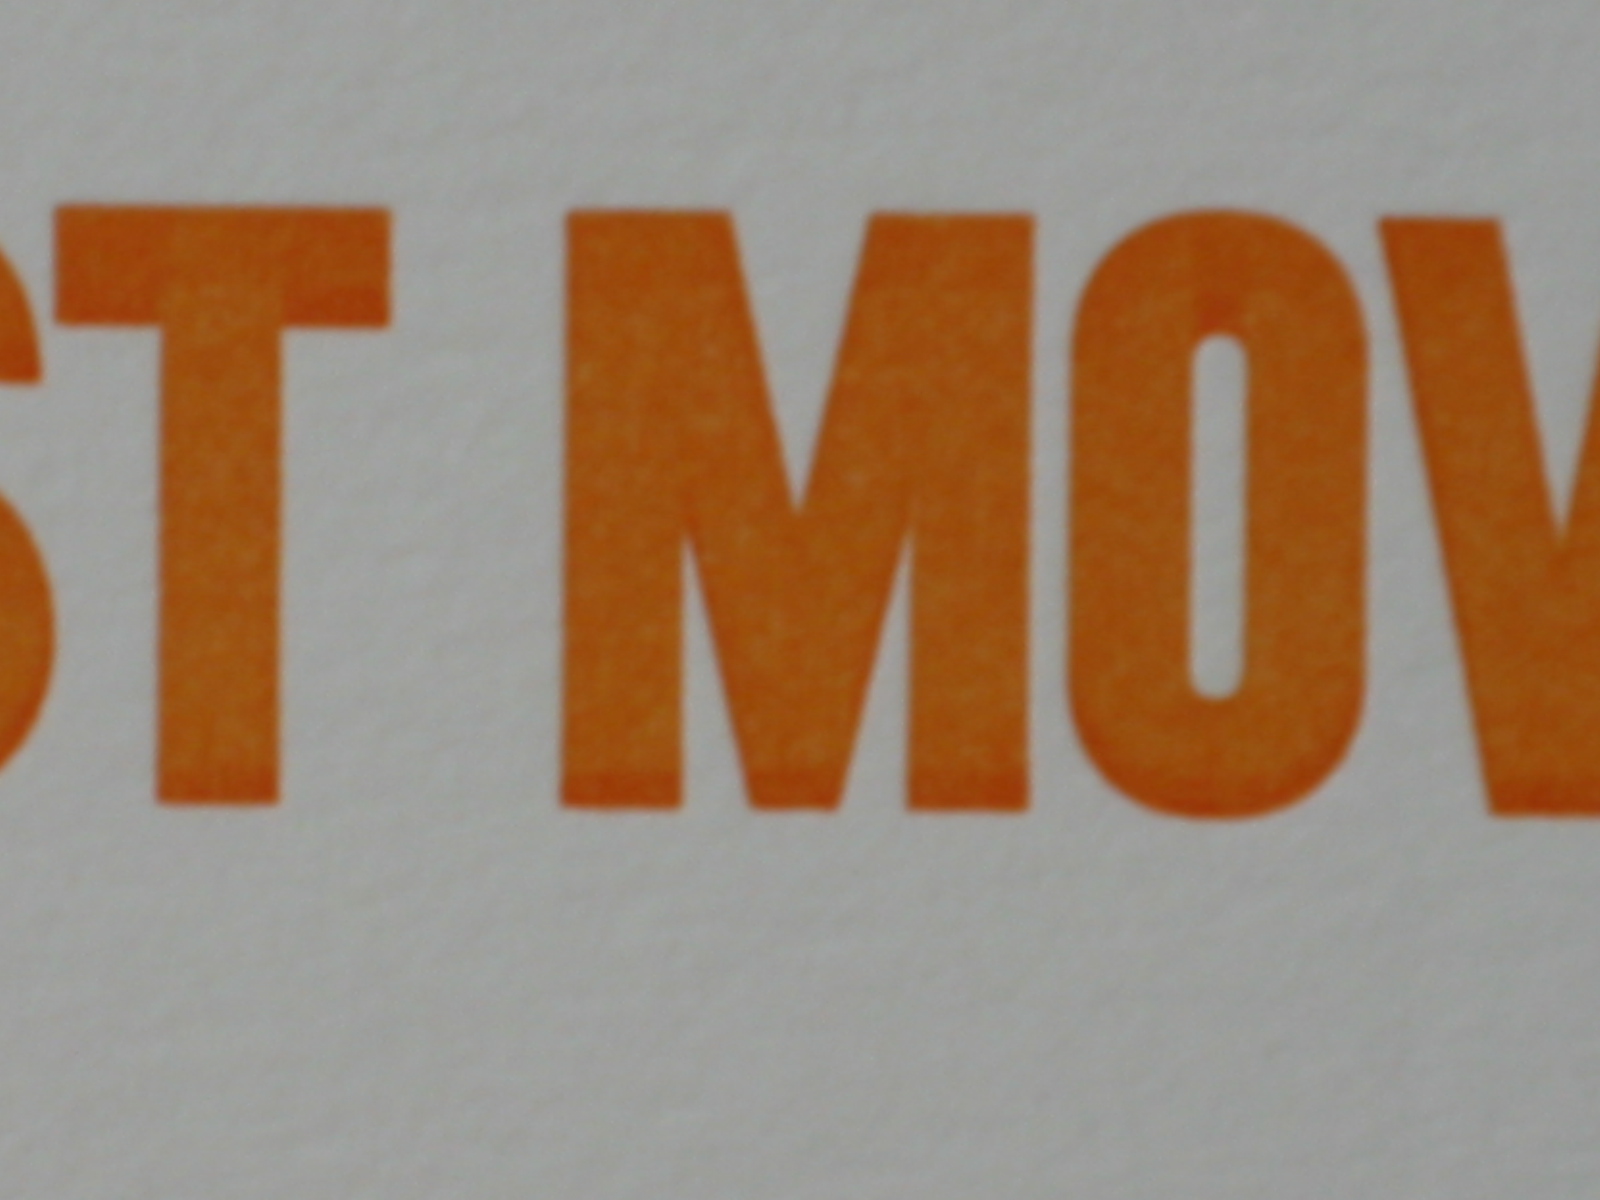
Ever since I purchased my C&P Oldstyle platen press I’ve had a problem with roller slur or “ghosting” on any image that is thicker than standard metal type. I’ve cleaned the trucks/rubber and rails so I know it’s not that. Any other possibilities I can check? Sometimes the speed of the press will improve it, but it always comes back when I least want it to. Any help to get this problem solved will be greatly appreciated! (see photo for example - notice the darker stripe at the bottom of the letters)
Have you checked the roller height with a roller height gauge, i.e. a .918 round piece of steel with a steel rod threaded into it for a handle. By pushing the gauge under the inked rollers and observing the width of the bead of ink, you can measure the effect of adjusting your roller trucks. Check every roller at both ends and in the middle. You can try different bead widths but the least you can get away with and still ink the type, the better. You know the old saying, “If you can’t measure it, you can’t control it.” Also, the diameter of the roller trucks, as adjusted, should be as close as possible to the diameter of the rollers. Going along with this, the height of the rails should be as close as possible to the height of the type in the chase. The object of both of these ideas is to maintain the surface speed of the rollers at zero as they ink the type. You don’t want the roller surfaces to be moving with respect to the surface of the type. If the rails are low, you can put layers of 3/4 inch masking tape on them to build them up. I had masking tape on the rails of my C&P 8 X 12 for years. As a more permanent fix, you can put strips of metal on them. Hope this at least gives you food for thought, Geoff
Thanks for your comments, Geoffrey. No, I don’t have such a gauge. I do adjust the trucks constantly depending on what I am printing and how much ink is needed on the form. I’m going to be printing something this weekend that has a fairly decent sized solid area, so I’ll be able to try your suggestions and let you know how it goes. I have tried tape on the rails before, but masking tape has a slick surface and seems to make the trucks slip even more. Is there a better kind of tape to use? I think I heard someone say once that they used a kind of rosin (violin) on the rails or trucks to help with this kind of problem. Have you ever heard of that?
Dear Friend,
I think that the info you have from Geoffrey is excellent.
However, slurs and ghosting in printing are two different problems. Slurs can be caused be the rollers hitting the type too hard. Follow Geoffrey suggestions for this problem.
If you have “ghosting” on the large image being printed, I would say that this is a problem with ink coverage and distribution Remember all presses have a limit to what they can do.
I have had som experience with large type printing on a 12x18 CP. Coverage was a problem. What you can try is a vibrator that goes over two rollers …it helped greatly with the distribnution of ink. It’s easy, it snaps on and off in a minute. It helped me. The other thing you might do on a heavy form that requires lots of ink, is to “double roll” the inking. This also will help with the coverage without using too much ink.
Also check and make sure your rollers are not sliding. They should roll over the form with a “kiss” impression.
Hope you solve your problem.
SAL
You said that “the trucks slip even more.” Do you mean that they slide on the rails without rolling fully? I’m surprised at this because my trucks never seemed to slip. Do they slip if you don’t have a chase in the press, or just when they roll over something you have locked up? If they slip when there’s no chase, have you oiled the ends of the roller shafts where they are held by the hooks? Do the trucks or the rails have an oil film on them? If so, you could wipe down the rails and the trucks with a fast drying solvent like lacquer thinner, nail polish remover, or the like (but take adequate precautions when using these such as gloves and goggles). Or as an alternative to this, you might wipe them with rosin as you mentioned, or maybe even corn starch would work. How many rollers do you have? My 8 X 12 C&P was made in 1911 which was just at the time when C&P was changing over from old series to new series presses, as I understand, and my press had 3 rollers and a two part ink disk, and inked quite well. However, I did have to “double roll” some forms as Sal mentioned above. (By the way, Sal had some very good points above). Without a roller height gauge, it is hard to adjust all the rollers the same, but maybe if you had a dingbat which prints a 48 point solid square or similiar, you could slide that along the bed (without a chase on it), and tell by feel how hard it is to slide it under an inked roller. If you rounded the edges of the dingbat with a file and/or emery paper, you could make something similiar to a roller height gauge. To simplify things and avoid the situation of the rollers being set differently, you could only put one roller in at a time. Then you could raise that roller with the trucks until you don’t ink the type any more, and then lower it until you get good inking without your problem (hopefully). Your multiple rollers might be set differently enough so that even though one or two are set correctly, one might still be causing the problem. Another thing I found was that the most important roller to set perfectly is the last one to roll off the type before the impression. Even if the others aren’t quite right, that last one will then even up the ink.
From your description, it definitely sounds like your rollers are hitting your type with too much pressure. If so, you’ll notice they’re inking the surface of your type and some of the slope of the indented areas. A good set of expandable roller trucks would definitely fix this problem. Check Na Graphics.
I also recommend replacing the springs with thicker ones. I’ve been running my 8x12 C&P Old Style this way for a few months. Thicker springs only react when the press is in operation, and don’t require constant pressure. This way, you can adjust the pressure when you have to, without worrying about the nightmare of re-packing those nightmare original springs.
Sal, what exactly is a roller vibrator? and where would I get one for my C&P? I did get through my printing this weekend by double inking the larger image. It seemed to work pretty well. As far as I can see, the trucks are not slipping on the rails so I think it’s more of an inking problem. I will continue to try the suggested ways of dealing with this. Do you know where I can get a roller height gauge? Thank you very much for taking the time to read my posts and give advice to a novice printer!
For a roller height gauge, check the “For Sale by Dealer” section of this website for 6 December. It should be type high, or .918 inch.
A “roller vibrator” is a steel roller with a solid steel center (the core) with sort of a worm gear as part of it that oscillates the steel roller back and forth (left to right and back again). It sits on top of the two press rollers with spring tension, clicks on and off easily. Does pretty good job of helping with the ink distribution. I still recommend “double rolling” even with this vibrator.
Two companies made these years ago,,,, one called Acme and the other was Triumph. You can email “americanprintingequipment.com” in NY. Years ago they sold them. Hope they can help you.
As for a type high gauge for roller settings….follow what Geoffrey wrote on Jan 27th. If you want to spend about $50 you can buy one custom made from Bieler Press. Their address is 4216 1/4 Glencoe Ave., Marina del Mar, CA 90292.
Hope I have helped you with your problem. Keep in touch.
SAL
Hope this helps. Keep in touch.
SAL
Agree with all of the above. My type high guage was supplied with Heidelberg (German) letterpress machines. The length of the round section is less than the diameter so you can turn the guage on to the flat end to slide it under one roller to test the next one in. It would be worth a reasonable $ to get an engineering company (or skilled amature) to make you one. You will always need it. Rollers should show a 3 point ink stripe on the circumference of the guage at both ends of the roller for best rolling. This will be affected by the hardness of the rollers (especially when they are getting old). Hard rollers will affect gosting as well.
Another factor to check is ink consistency. Ink should be ‘buttery’ in the tin and not sloppy enough to run off the ink knife. The action of the rollers converts the ink from a near solid to a near liquid on the type.
Roller slur can be eliminated by using a rolling bar in the forme.
Inks need to be exactly right so when the roller contacts the type, there is no drag to alter the speed of rotation. You need a short ink-that is one that breaks short when pulled between two fingers-add a little starch to the ink.
To make a rolling bar, you need a 12pt or 18pt type high lead a little longer than the type matter.
Lock this up into the forme off the paper area and cut away the tympan so there is no print on the tympan. This runs in the direction of the roller stroke and bears the rollers BEFORE it hits the type so there is no drag or speed difference.
Hope this helps
I also have a chandler & price 8x12 and have experienced roller slur as the leading edge of the roller hits the edge of the type. I have had good to excellent results by making a one-half inch wide type high rider on each side of the form to keep the rollers rolling at type high and inking the forme by rolling the ink on. If you cannot find some old letterpress color blocks for cutting please let me know and i will send you some strips. I will need to know the size of the inside measure of the chase you are using. i feel alan is correct when he says to use type high material yet it will be dificult to keep lead type high for an extended period of time, and a narrow width of border material may cause wear on your rollers if the edges of the borders are not rounded. Rounded edges will allow the rollers to ease up to type high. Jim
An old friend of mine, since gone to wherever old printers go, always used bearers in his chase.
I asked if he needed them for every job. His response was that he didn’t know, but that was what he learned and he always used them. I seem to recall that they were like a piece of angle iron made from aluminum. The vertical part was locked in the chase and the horizontal part rested on the adjacent piece of furniture. The piece didn’t look to me to have been milled to a precision thickness, but it plus the height of the furniture must have been type high. One had to be careful to keep them away from the grippers and the gage pin.
I invite Fritz to ring in to tell us if NA sells bearers. Is anyone else familiar with these and does anyone know where they might be purchased. If there is interest, maybe NA or one of us should look to making them. It shouldn’t be difficult nor too expensive if a number were fabricated at the same time. I have used vertical rule to provide bearers. Not having big fat type high slug rules, I had to use a bunch of 2 point rule pieces bunched together.
Now I come to confession. My latest job was a long piece with a wide top margin against the side gage pin and not much room for the bearer and quoins. Don’t you know that I set the bearer rules right where the gage pin needed to be. Back to the stone for adjustment.
inky
Updated. Hi All
Yes…good comments especially the rounded bearers and the bunch of 12pt leads.
Rider rollers do help on the forme rollers, but set it only to contact the bottom roller, this can help.
I only used the bearer when it was necessary, not leaving it in all the time.
Also, always use rubber rollers NOT COMPO for the best results. The ground finish holds ink better than the smooth compo ones.
Also try using litho ink as the pigment is much stronger.
Alan
i have the same problem with slurring AND ghosting on my golding pearl platen. i just ordered a roller gauge from NA graphics… but the ones they offer are by/for vandercooks. can i use these gauges on my press? one is for galley presses, the other for bed presses…
thanks.
bb
Dear Blackbird.
Both platen and flat bed presses are (were) designed to print metal type that is .918” high along with ornaments, cuts, borders, etc. The Vandercook Type High Guage is Vandercook in name and Mfg, only, having been sold with their presses. It is .918” high and designed to measure the distance from the bed to the ink cylinder to make sure it is precisely the same height as the type. It can be used on most presses.
Hello,
While I don’t have much letterpress experience, I do have much offset experience which has some common issues with letterpress. One way you might determine if your problem is coverage related is to see if the heavy solids require more than one revolution of the form roller to ink. If you have a coverage problem, be sure you are running the shortest dimension of the solid area in the direction which the rollers travel over the form if possible. As a last resort, you could also consider dividing the heavy coverage, if possible, into two smaller coverage passes. I don’t know about letterpress but also sometimes we “double hit” the piece by printing the whole form twice in perfect register. This will give you much more depth to the color on solid areas and also hides any hickeys which appear in the solid area.
Upon further examination of your photo, I would say that your problem is pressure related rather than coverage related. The ink drops off almost immediately after the rollers strike the image. If it were a “starvation ghost” which is coverage related, you would see a drop after the length of one roller revolution from the point of first contact with the image area. IOW, the roller has rolled over once and has less ink on it as a result. Hope this helps.
Measure the diameter of each truck and roller with calipers. They should be the same. Unless the rails have worn down considerably, it sounds like your rollers are larger than your trucks in which case taping the rails can help but only if the difference is not enormous. Perhaps someone here can give the correct dimensions for the trucks for this press, just to ensure that they are the correct ones for this machine. If they are, and the rollers measure larger, then new rollers are needed. If trucks aren’t the correct size, then get new ones, preferably Morgan expansion trucks.
Google “the setting of platen press rollers” and you’ll find a link to the APA website with further info on this subject.
That gauge is available at NA Graphics for 30 bucks:
Vandercook Roller Setting Gauge, 0.918 inch, for bed presses. You can use it for platen presses, just take out the chase and position the rollers where they’d normally be contacting the type and slide the gauge between the rollers and the press to get your contact stripe.
thanks for all the suggestions everyone!
alncarter: I have fairly new Morgan expansion trucks. My rollers are old and of the compostion rubber kind. I want to get new rollers, but can’t just yet. That might solve some of my issues. What I’ve been doing is inking lightly and then double printing to get a good coverage. Takes much more time, but it gets the job done.
ROSS: when you say “pressure related” you mean the rollers are hitting the type too hard?
Here’s my way of dealing with all things print related….just keep trying something different and eventually, something will work. It won’t be the same thing to solve the same problem every time though. these machines are old and we ask so much of them that sometimes, they just need to be coaxed into doing it (kind of like my teenage children)
RE: roller setting gauge….a great idea….when I can spare $30 bucks I’m going to order one :-)
RE: Inky….can’t say I quite understand what a “bearer” is. I pretty much use photopolymer plates on my boxcar base most of the time so I don’t know if they would be of use to me?
Geoffrey and Sal
Sorry to say but the roller gauges we offered are gone. These were based on the type of gauge issued for use on platen presses. I think the fellow who made them still has stock, but it was just an ad hoc project, to see if a high end gauge that measured at .91800 could be made. All the manufactured gauges we measured varied quite a bit from that!!! There was some very minor variance but not by much, and a few did hit the mark dead on. Anything head that didn’t measure up after polishing got tossed.
http://flickr.com/photos/bielerpress/313123010/in/photostream/
http://flickr.com/photos/bielerpress/313123012/in/photostream/
Gerald
http://BielerPress.blogspot.com