How we installed a motor on my C&P 10x15 press
My husband made it his personal mission to get a motor up and running on my press so I didn’t have to continue to print with the flywheel. After some trial and error, he was successful! We sifted through so many posts and YouTube videos, so we wanted to share the process to hopefully make it easier for someone else in the same boat.
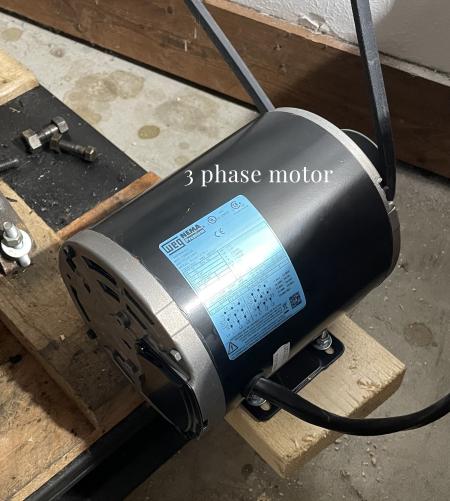
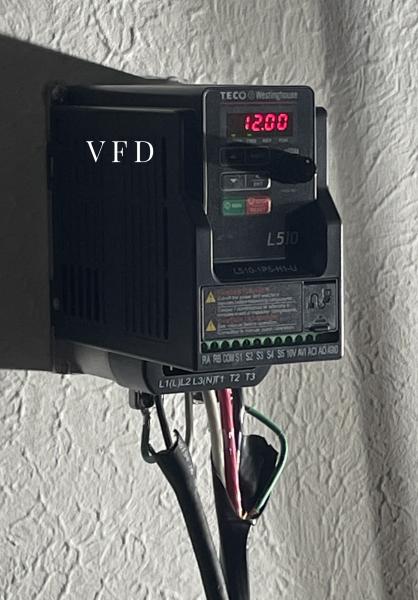
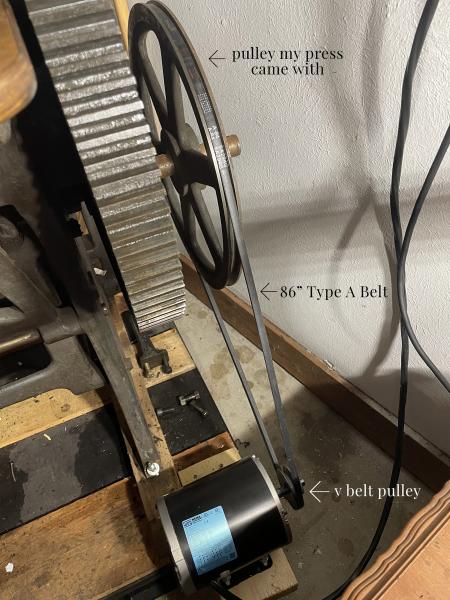
We started with a 3 phase motor with 1/2 horsepower. It hooks up to a VFD (variable frequency drive) TECO Westinghouse L510 on the wall. The VFD makes it possible to use the 110v wall outlet and convert to 3 phase electricity, which is then sent it back to the motor. The VFD allows me to adjust the speed of the motor. The V belt pulley on the motor uses an 86 inch type A belt, which hooks up to a pulley that was already in place on the straight shaft.
t’s important to make sure the cables being used are rated for the proper voltage.
motor.jpg
vfd.jpg
pulley.jpg
Wouldn’t it be safer to put the motor behind the press instead of in front?
Yes; however, that wasn’t an option with the current space.
I can’t help but notice the similarities with this older post:
http://www.briarpress.org/29788