Albion adjustment
We have an old Albion press, the bed has tilted down at back. Someone else posted with the same problem. Can anybody give some simple guidelines on how to level it, and what to monitor and adjust regularly. For non mechanical minded artists. There was no tympanum so that has been replaced. We use it for lino cuts as well as letterpress, hence the MDF to raise the lino to type high
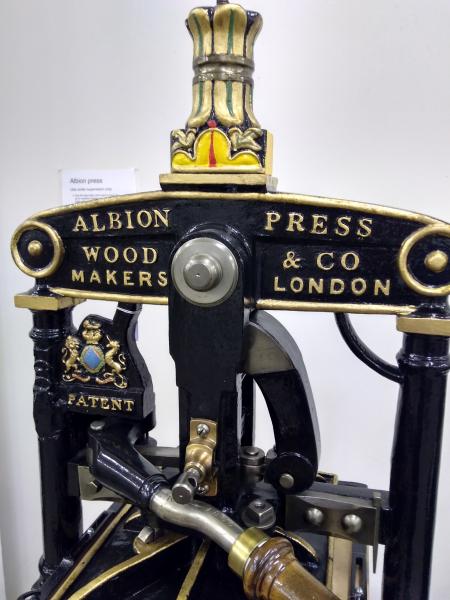
Image 1
Front
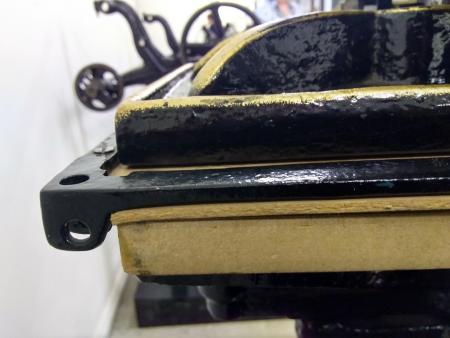
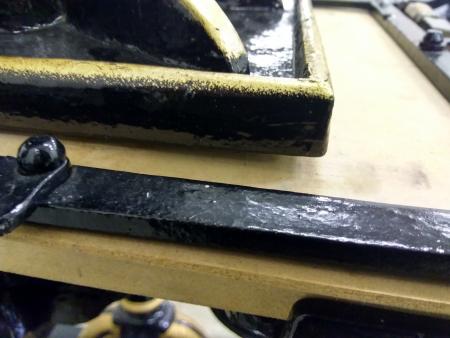
Back
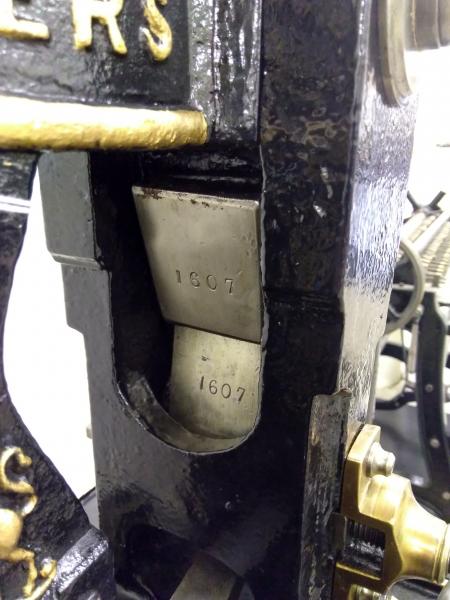
Image 4
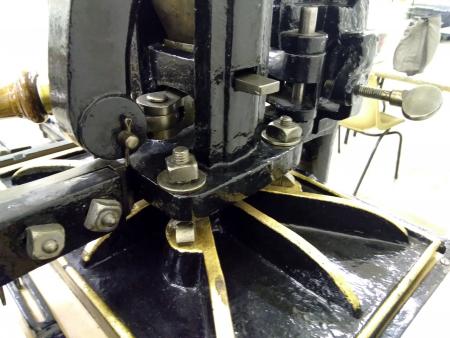
Back. Screw was a bit loose but not out that much
leveling of platen achieved with 4 special hook bolts (that hold the platen)
Think X , if you loosen a nut on top of the Platen by a quarter turn, the diagonal opposite corner will rise the same amount.
The upper Platen is not parallel to the Bed of the Press, but
more raised to the front, so than Bed, Frisket and Frame is inserted, the overall pressure on the Frisket and Frame, so also the Form is equal and the same.
Place a large Capital in each corner of the chase, ink and place paper upon the letters, adjust according what you see Printed until all even and the same.
Thanks, that seemed logical to me, but I wanted reassuring. Thanks typenut for the testing idea. Next question, the front left nut is inaccessible because of the lever. Do you take that nut as being the reference, and adjust the other 3 as needed
You have to find the right spanner, they had ones which would have 45 degrees and odd angles, don’t assume it’s correct, you don’t know what happened before you squired it.
Print a Test as described and go from there
Once you level the platen from above, you must not expect it to stay level as it lowers onto type to print. A platen will always tilt away from the type if it sits at one end of the forme. To compensate for this, handpress printers add type-high bearers at the corners, outside the print area (if possible). Bits of tape or other packing can be added to the type bearers to get the impression just right. A good manual is needed. Rummonds’ is the most recent and likely most accessible. It is very detailed.
As the others have implied, you do not adjust the level of the bed as such but you adjust the platen to make it parallel in all aspects with the bed.
Of course, the bed and rails should be level to start with otherwise you will be running the bed up hill either when it is run in under the platen or out!
When I adjusted my platen, I tried the 72pt cap letters in the corners idea but when I took an impression, I squashed the type!
So, I got some 25mm thick blocks of plywood about 100 x 100 mm and put them in the corners, slackened off the four screws holding the platen in place and pulled the impression bar tightly to make the platen contact all four blocks at the same time. I then tightened all the platen screws to the same tension while maintaining the same pressure on the blocks.
When I print, I have bearers under each corner of the platen, but out of the print area, to prevent the platen from tipping or skewing in use. The height of the bearers reflects how low the platen needs to descend with whatever packing you have behind the stock (possibly, behind the tympan but some people don’t use a tympan) to get the impression you want. That is, the height of the bearers is not necessarily type high.
So long as all bearers are the same height, you should be good to go.