Adana 8x5 uneven pressure
Hello all,
I’m a newbie to the Adana 8x5 but thought this the most appropriate category.
I’m using a photopolymer plate and am finding the pressure of my machine so uneven. Parts of the plate print well while others miss completely. I’ve tried everything I can think of – packing increasing amounts of newsprint onto the platen, tightening the corresponding nobs at the back of the Adana until I can’t tighten any further, both to no avail.
Any advice greatly appreciated as I am so keen to use my Adana regularly.
Thanks so much.
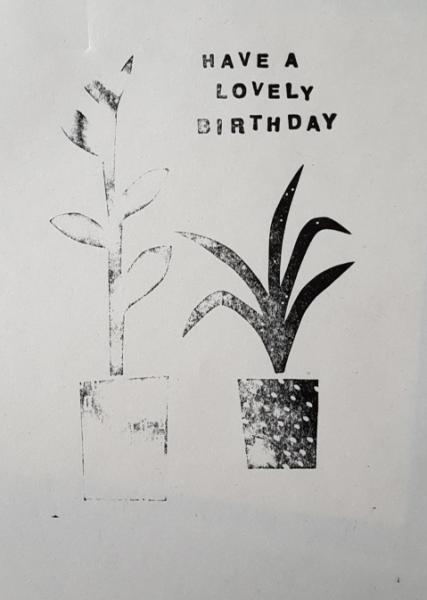
IMG_20160530_190410.jpg
Is the part that is printing heavily at the lower side of the platen? If so, then you have either too much packing on the platen or the platen screws need to be backed off at the lower side of the platen.
You may have to take your time, backing off the impression bolts until nothing prints and then begin tightening them equally until you get an even impression.
If you search on this site for “adjusting impression” I think you will find instructions for several methods of adjustment. The process just takes time and patience, but is worth the effort,
John Henry
Thanks so much for your advice John, yes, that’s where it’s printing heavily. I will search for this and try again.
Really appreciate that, thanks!
You can find the manual here: http://drukwerkindemarge.org/downloads/handleidingen/adana_8x5_manual.pd...
In corroboration of and addition to the pointers above, thanks to >J.H. & T.G.<
Adjustments of the impression screws should be in conjunction with (or before!!) *Packing* in the correct sequence, and with the Laminates in line with Adana,s instructions and spiel, from the mid 50,s.
Packing guides, not been posted recently, apparently!! Should be in addition to the pointers above, i.e the first step before attempting impression settings.
Adana,s original instructions (in essence) implied/instructed for starters, 2 or 3 sheet card, against the face of the Platen Proper, followed by 2 - 3, sheets of news print, followed by one sheet of blotting paper, followed by one sheet of the stock to be printed, and finally top sheet/draw sheet with genuine “Oiled Manilla* as TYMPAN, the layers all secured at the bottom with the transverse pinch bar, (no conventional bale arm at the bottom on the 8 x 5.)
Apart from the Tympan/Draw sheet, all under packing sheets, exactly cut to the face of the platen, ONLY the Tympan/Draw sheet creased at 90 degrees to clip down under the top Bale Arm, occasionally sprung from excessive packing, but easily persuaded back to give a tiny concave bias, to catch the Draw sheet.
The above all producing an excellent starting point for setting the impression screws. but still ONLY the starting point according to the thickness of stock to be used!! and the learning curve.
Many moons ago, here U.K. a parallel approach machine, (table top) was produced.
>AJAX> would have been a boon for the new(er) Devotees, but failed, mainly because the body was die-cast Aluminium, and was abused unsuspectingly by new devotees pushing the machine beyond its intended limits.
The author owns one such. Has been fractured and repaired, but only used and demonstrated with a Light forme, side by side with the Adana 8 x 5.… “Clamshell” V. “Parallel Approach”
Another simple fix, often missed by new users, is your image/type centred up in the chase, often people lock up at the top or bottom which can cause problems.
Also I would suggest backing all the screws off behind the bed and nipping them all up half a turn at a time to get them level.
Jeremy
Hi, I am an ex professional letterpress printer, recently returned upon the purchase of an Adana. I solved this problem by locking up some new type in each corner of the chase, e.g. A 24pt ‘X’ in each corner. Dress the packing as described in the manual with an adjustment made for the thickness of the printing stock paper/card. Back off the impression adjusting screws. Now insert a thin strip of paper as you close the press between each typepiece in turn, adjusting the screws and using the strip of paper as a feeler guage until all 4 corners feel the same drag whilst you have the machine on full impression. Now you will know the packing is parallel to the type. Additional printing pressure can be added using the screws or by adding more packing. Adjusting the packing to achieve the correct impression may also require some adjustment of the screws.