How do I prevent ink on the lead & tail edge of my prints (Vandercook SP15)
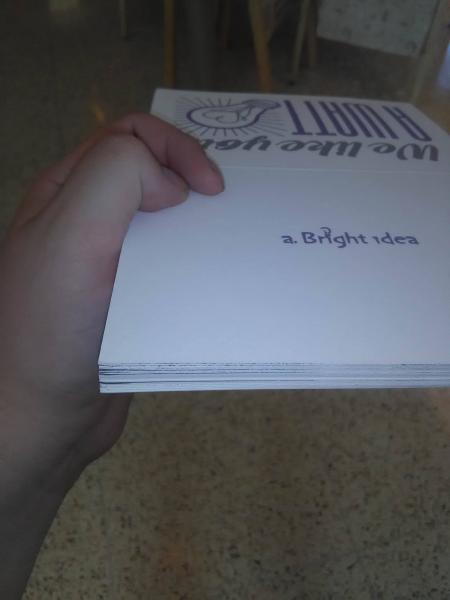
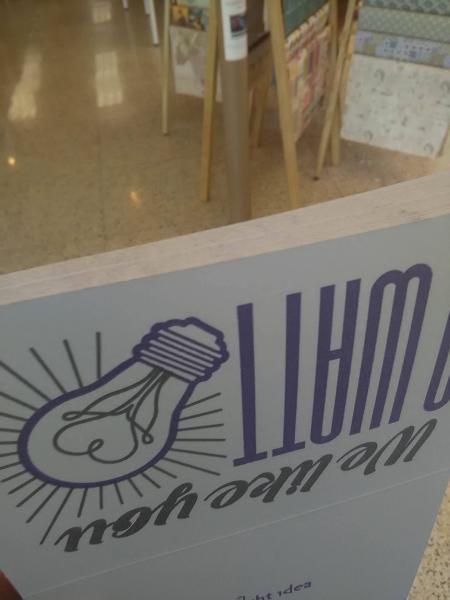
I’m printing with a Vandercook SP15 I keep getting ink on the lead edge and the tail edge of the paper. (See Pictures) I clean all the “bars” that surround the cylinder and I clean anything that I think may be the culprit, but I still get the ink on the edges…
My guess is that the tail end kicks up and catches the polymer plate and/or type, depositing ink on that edge. I am completely lost as to how the ink gets on the lead edge… I have a lot of tympan (probably too much) to get the heavy impression that people want nowadays. (YES, I know…) I can’t pull too much out or I hear complaints about light impression. My ink coverage is good, it wouldn’t hurt to check the roller height but I don’t think that is the source of my problems—though what do I know…
I have been trimming off a sliver of paper to remove this ink, but my employer swears up and down that the prints should come out clean and never need to be trimmed…
I’ve been researching the problem all day and came up with zip… Please help me fix this issue before I have to print two big wedding invitation orders! Thanks in advance!
19850570_10155433316178476_1997969034_o.jpg
19893567_10155433315673476_1369603854_o.jpg
In the first picture, sometimes called tail slap, the tail end of the sheet is hitting the ink roller closest to the cylinder. SP-15s had “sheet fingers” to hold the sheet to the cylinder. They easily break and were originally made out of phenolic board, and now we offer them in spring steel. And/or, the sheet can hit the edge of the plate or base because once the sheet comes off the last part of the image, it falls down on the plate/base, which if not carefully controlled, accumulates ink which transfers to the paper. A sometimes solution to this is to place a 5 pica wide piece of wood or metal furniture on edge right at the edge of the base to offer support to the tail end of the paper. Or live with it and trim the sheet edge once the ink is dry.
The ink build up on the leading edge of the image is more from rollers set too low that hit the edge of the image thus transferring extra ink to that leading edge, and the deeper the image, the more ink picks up on that leading edge.
Soft packing adds to the problem on the leading edge. Hard packing, a top sheet of Mylar rather than tympan paper often helps. The best deep impression is not to imitate Braille which is readily seen and felt on the back of the sheet, but to compress the paper fibers with a minimum of show through of the impression.
And rollers are not forever—don’t fight rollers that are getting hard, swell at the ends, have pits, cracks, hard spots, glazing.
You can make a frisket with a larger sheet of lightweight paper with the image areas cut out to print through. You register the card to the guides and then add the frisket. Even if the tail slaps down, the frisket protects the end of the sheet from the ink.
It adds to the work, but protects the edges of the sheet.
John Henry
Thanks for the responses!
I’m going to check my roller height and pull out some packing. I forgot to mention the press has a mylar top sheet.
Unfortunately/Fortunately the Boxcar Base we have is 13x19, so I can’t use the 5 pica block trick. But the opportunities presented by that surface area are worth the trouble.
I hadn’t even thought to make a frisket, which will probably be my solution for this week of Wedding Invitation printing.
Thanks Fritz1 and jhenry!