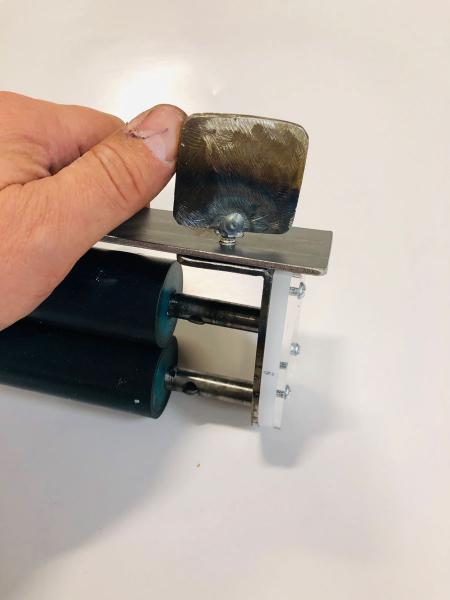
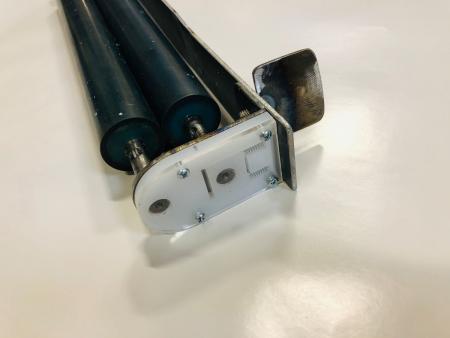
Double roller hand brayer from letterpress rollers
We acquired three identical used letterpress rollers (13 5/8 roller portion), from another fellow on this site the other day, so we can make a long hand brayer…
This is our first version, using two rollers. Using all three would compensate even more for their small diameters - but this is already a bit heavy. Rollers weigh significantly more than the welded steel frame which appears rather bulky…
But so far so good.
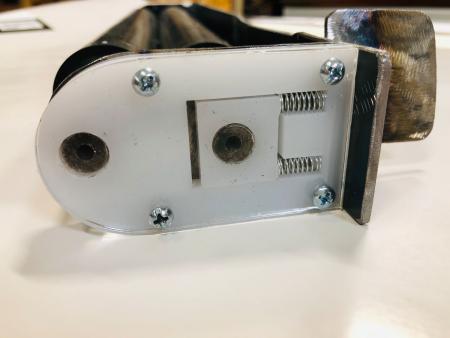
The top roller is spring loaded against the bottom (impression side) roller.
It comes apart using just one screw by hand.
We will post the CAD for the mechanism when we are done with the video.
ty

1.jpg
2.jpg
3.jpg
4.jpg
5.jpg
Laudable effort; couple tips- if you want this to work optimally, there should be two form rollers of the same size and a third ‘rider’ that contacts both which is larger by a certain ratio. Look at all the inking systems that are out there and you’ll notice the trains are like that.
Also, there’s this:
http://www.conradmachine.com/navbar/accessories/printmaking_accessories_...
I have one. They’re awesome, if a little heavy. I think your brayer version is nice looking, but you should consider trying a 3-roller version and see how the ink laps.
double post
HavenPress-
Did you ever get to finish that crazy hand roller you were working on?
DGM
I lusted after that Conrad roller, but ended up conjuring up this setup using a variable speed drill and an old roller (below). It works pretty great on my sign press with no inking system. I dab the ink on the stopped roller, then turn it on with a foot switch and hold the two handled roller (above) to it. I can even move the two-handled roller side-to-side to get an oscillating effect. Very fast and I don’t need a huge slab to roll out the ink.
PoorMansVandercook.jpg
this is the only rider roller brayer I ever saw a little hard to come by, it is a good idea for sign and flatbed presses. having different size rollers will better mix the ink. let us know how the final design comes out.
CIMG1674 (2).JPG
Thanks for all the comments! ok, so we completed a large try-tone using the brayer ( https://youtu.be/Pgkm9GX5IVU ). Works *alright*…. I think just as the design of the one just above, I was thinking of adding small rollers. And adding to the top non-inking roller would be more effective - and one on each side - to allow me to go back-and-forth and still be effective…. But excited about just stripping one extra roller that we still have (unused) and casting a larger one too (after seeing that post about it here)…. I mean… I might as well make a 20” version so inking 19” plates will be of no issue….
Screenshot 2019-12-08 09.57.08.jpg
I guess the frame has to get bigger with that design:
Screenshot 2019-12-08 10.06.20.jpg
hahaha. starting to get really convoluted…
Screenshot 2019-12-08 17.41.15.jpg